I've actually been cooking with coconut oil lately, and have been incorporating it into my beauty/skincare regimen as much as possible. I like to soak my hair and scalp in it for hours, then wash it out in the shower. It leaves my hair super soft and shiny, and leaves my scalp feeling healthy. I also like to dab a little in my hands and rub it all over, like lotion. It is so moisturizing!
I decided to research bath melt recipes online, and discovered, as far as skin treats go, they are easy to make with ingredients that are relatively easy to find. The recipe I'm using is basic, I sort of combed through many til I decided to make my own, simpler version of those I'd found. I put my mixture into a candy mold from Michael's, and there was enough to fill all ten cavities.
What you need:
Coconut oil (I get mine at an organic market I shop at, but I believe many grocers carry it)
Extra virgin olive oil
Essential oil (optional, if you use a certain kind of coconut oil, your mixture will smell like coconut)
Food coloring (optional)


The amount of ingredients really varies, because of how simplified this recipe is. I used about a quarter cup of coconut oil, and then a couple drizzles of olive oil. Coconut oil is solid at room temp, so make sure you don't use too much olive oil, or the melts won't set. Essential oil isn't necessary. If your mixture smells like coconut, the essential oil should mask it.
First, melt coconut oil. There are many efficient ways to do this, I just nuked mine for 10 seconds at a time.

It won't take long for the coconut oil to melt to liquid. After this, I added olive oil slowly, stirring after every few drops of it. I added about a teaspoon. After this, I added jasmine scented essential oil, which I got at Michael's for $3.99:
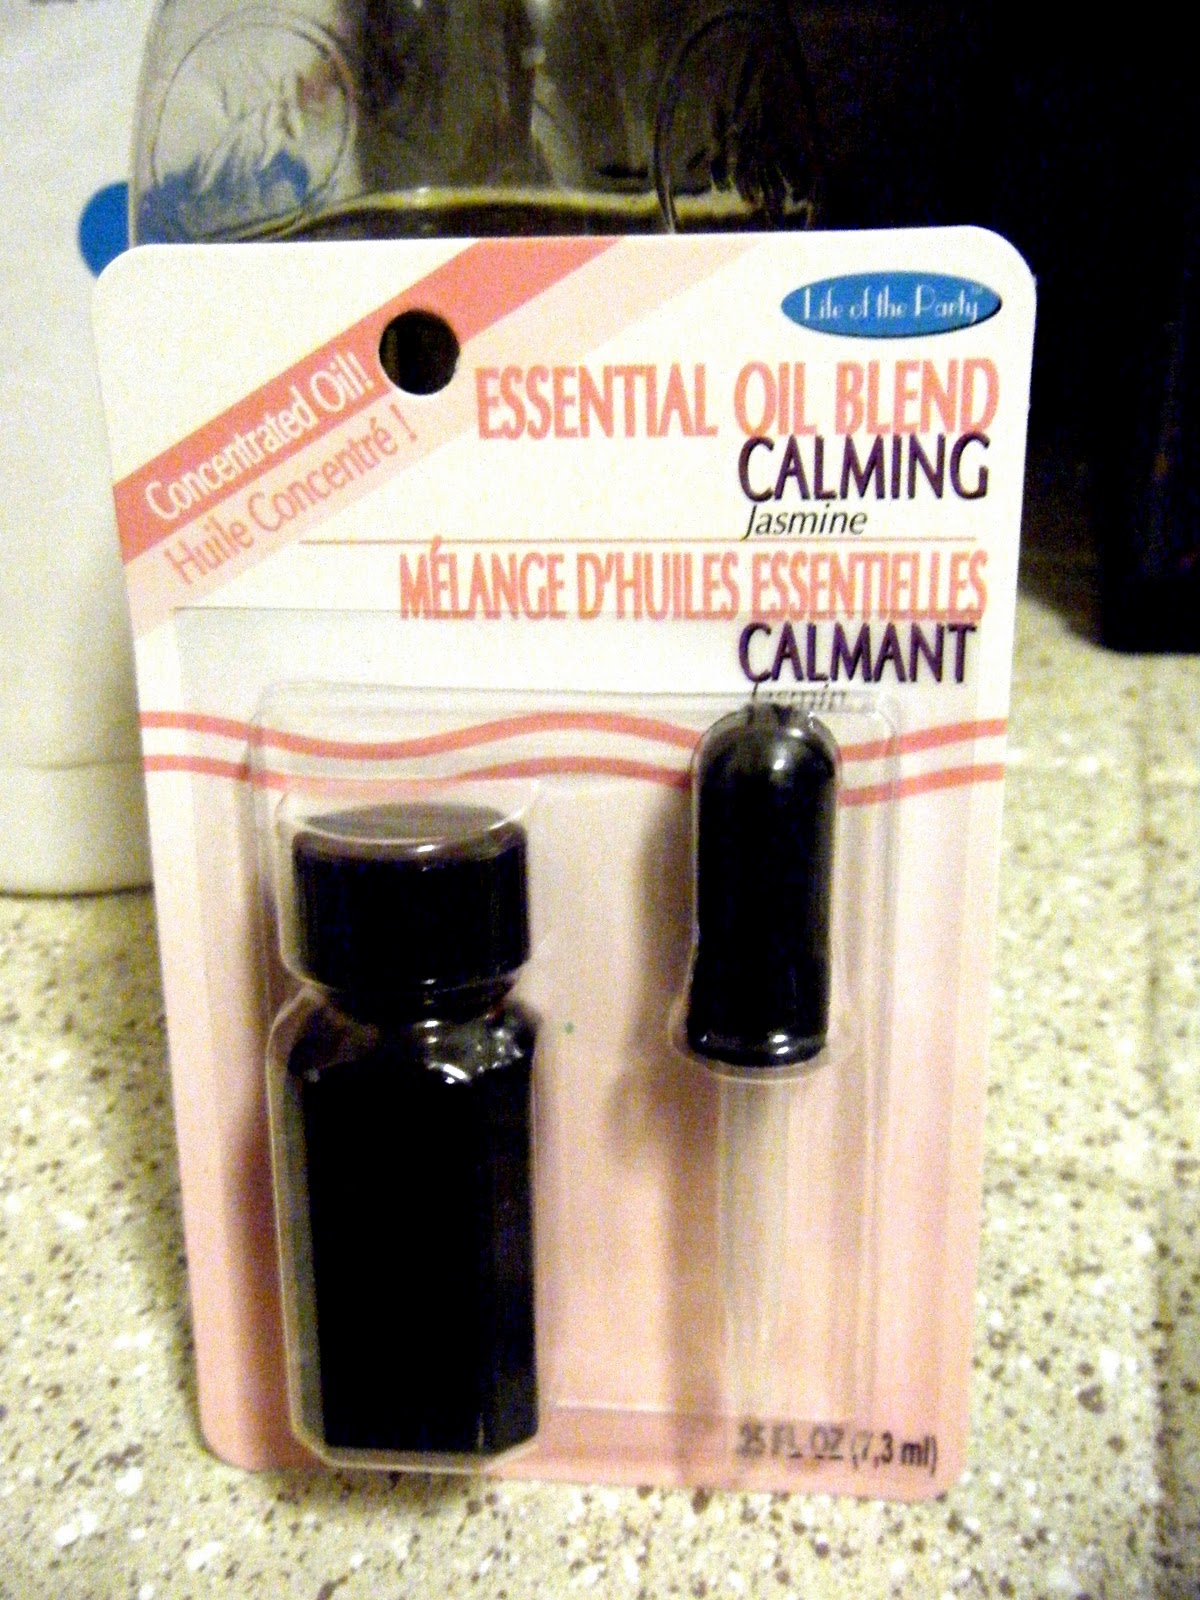
It smells really good, and even came with a little dropper. I used about 5 good sized drops, but add more or less to your preference. Also, note how the scent works with or masks the natural scent of the oil. I could tell that the coconut scent of my oil would have smelled really good with a few drops of vanilla. I didn't like it so much mixed with the jasmine, so I added a bit more to cover up. To me, it seemed like the scent got a little stronger once the melts cooled.
Mix all of this together and pour into molds. You can use virtually anything as a mold. I've seen a lot of people use flexible ice cube trays. I'm just using a plastic candy mold I also got at Michael's. They have many different shapes to choose from, I got the little roses:

After the mixture has been poured into your molds, pop them into the fridge or put them in a cool, dark place to cool and set. I put mine in the fridge and they were ready within half an hour. You'll want to store these in a cool, dark, DRY place so they don't melt.
Voila! C'est tout! Simple. Easy, easy, easy. I used the oils I have on hand and that I'm familiar with, but you can use pretty much any oil or butter that is good for the skin. Some recommendations I've come across are almond butter, almond oil, shea butter, and cocoa butter.
If you are giving these as a gift, wrap them in foil wrappers for candy, which have a wax paper backing. If you're keeping your little melts, then I suggest pouring a cup of tea or glass of wine, running a bath and using your handmade treats!
Here are the two blogs that inspired me the most:
Check them out! Try your own concoctions, I'd love to hear what you come up with!
xx